Full range | Scanning slide style | Camera style | M2 factor | Simple and user friendly software
Dimension Labs has launched a series of Beamhere spot analysts, which, together with general software, achieve complete beam quality analysis functions
Spot energy distribution and beam divergence angle, M ² Factor is an important component of last beam quality detection, and effective and accurate measurement and analysis are prerequisites for fully utilizing last The Beamhere series products have complete functions and can be used to inspect and evaluate scenarios such as beam shaping, focusing spot, and beam consolidation They also provide spot parameters that comply with the ISO11146 standard, such as beam width, peak center, and ellipticity All series products can be optionally acquired with M ² Factor testing module to achieve beam wait position, beam divergence angle, and M in the direction of beam propagation ² Measurement of factors BeamHere qualifications the evaluation of last beams and outputs test reports with just one click from the software, accurately and effectively completing beam analysis

A full range of products that meet a wide range of testing needs | M2 factor testing modules that are compatible with all Beamhere spot analysts | Independently developed and carefully designed analysis software | The software truly achieves interactive friendship, simplicity, and ease of use, with one click output of test reports
A full range of products that meet a wide range of testing needs
The scanning slide type spot analyzer series and camera type spot analyzer series launched by Dimension Labs are divided into different applicable bands to form a complete product series, covering a wide range of spot testing needs in various bands

Adapt to all Beamhere spot analysts with M ² Factor testing module
The M2 factor testing module launched by Dimension Labs measures quality evaluation parameters such as M2 factor and beam divergence angle in the direction of beam propagation, and is compatible with scanning slit type spot analysts and camera type analysts

Independently developed and carefully designed analysis software
The Beamhere Laser Beam Analyzer beam analysis software developed by Dimension Labs is compatible with all hardware modules in the Beamhere series of beam measurement products Dimension Labs strictly controls customer experience, with a clear and decision interface, and consensus and effective operation
Scanning slit spot analyzer

Main advantages
Knife edge slit dual mode
µ m level small beam measurement
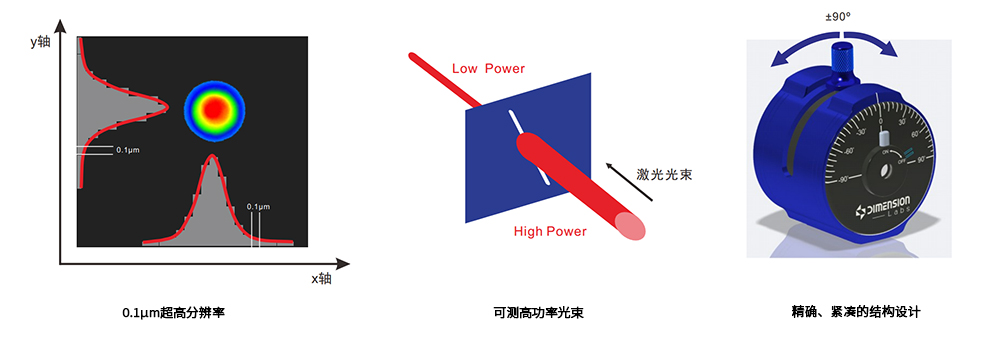
0.1 µ m high resolution
Measurable high power beam
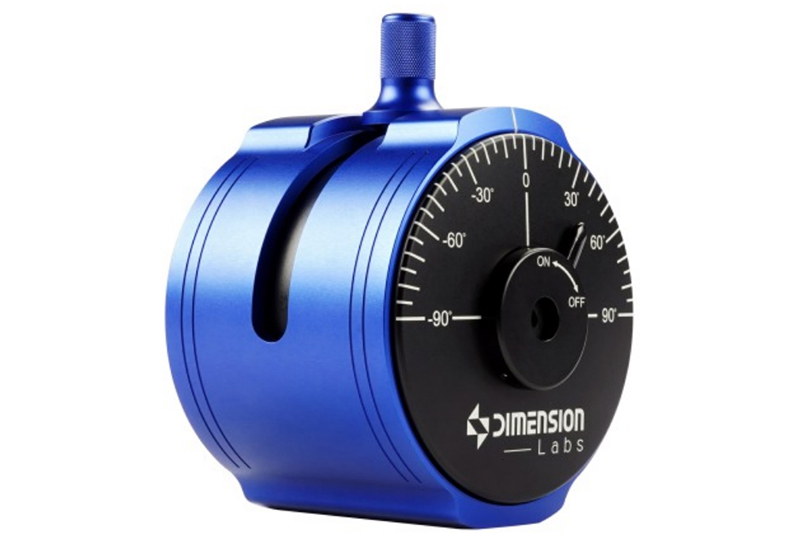
Innovative, precise, and compact structural design
Innovative, precise, and compact structural design
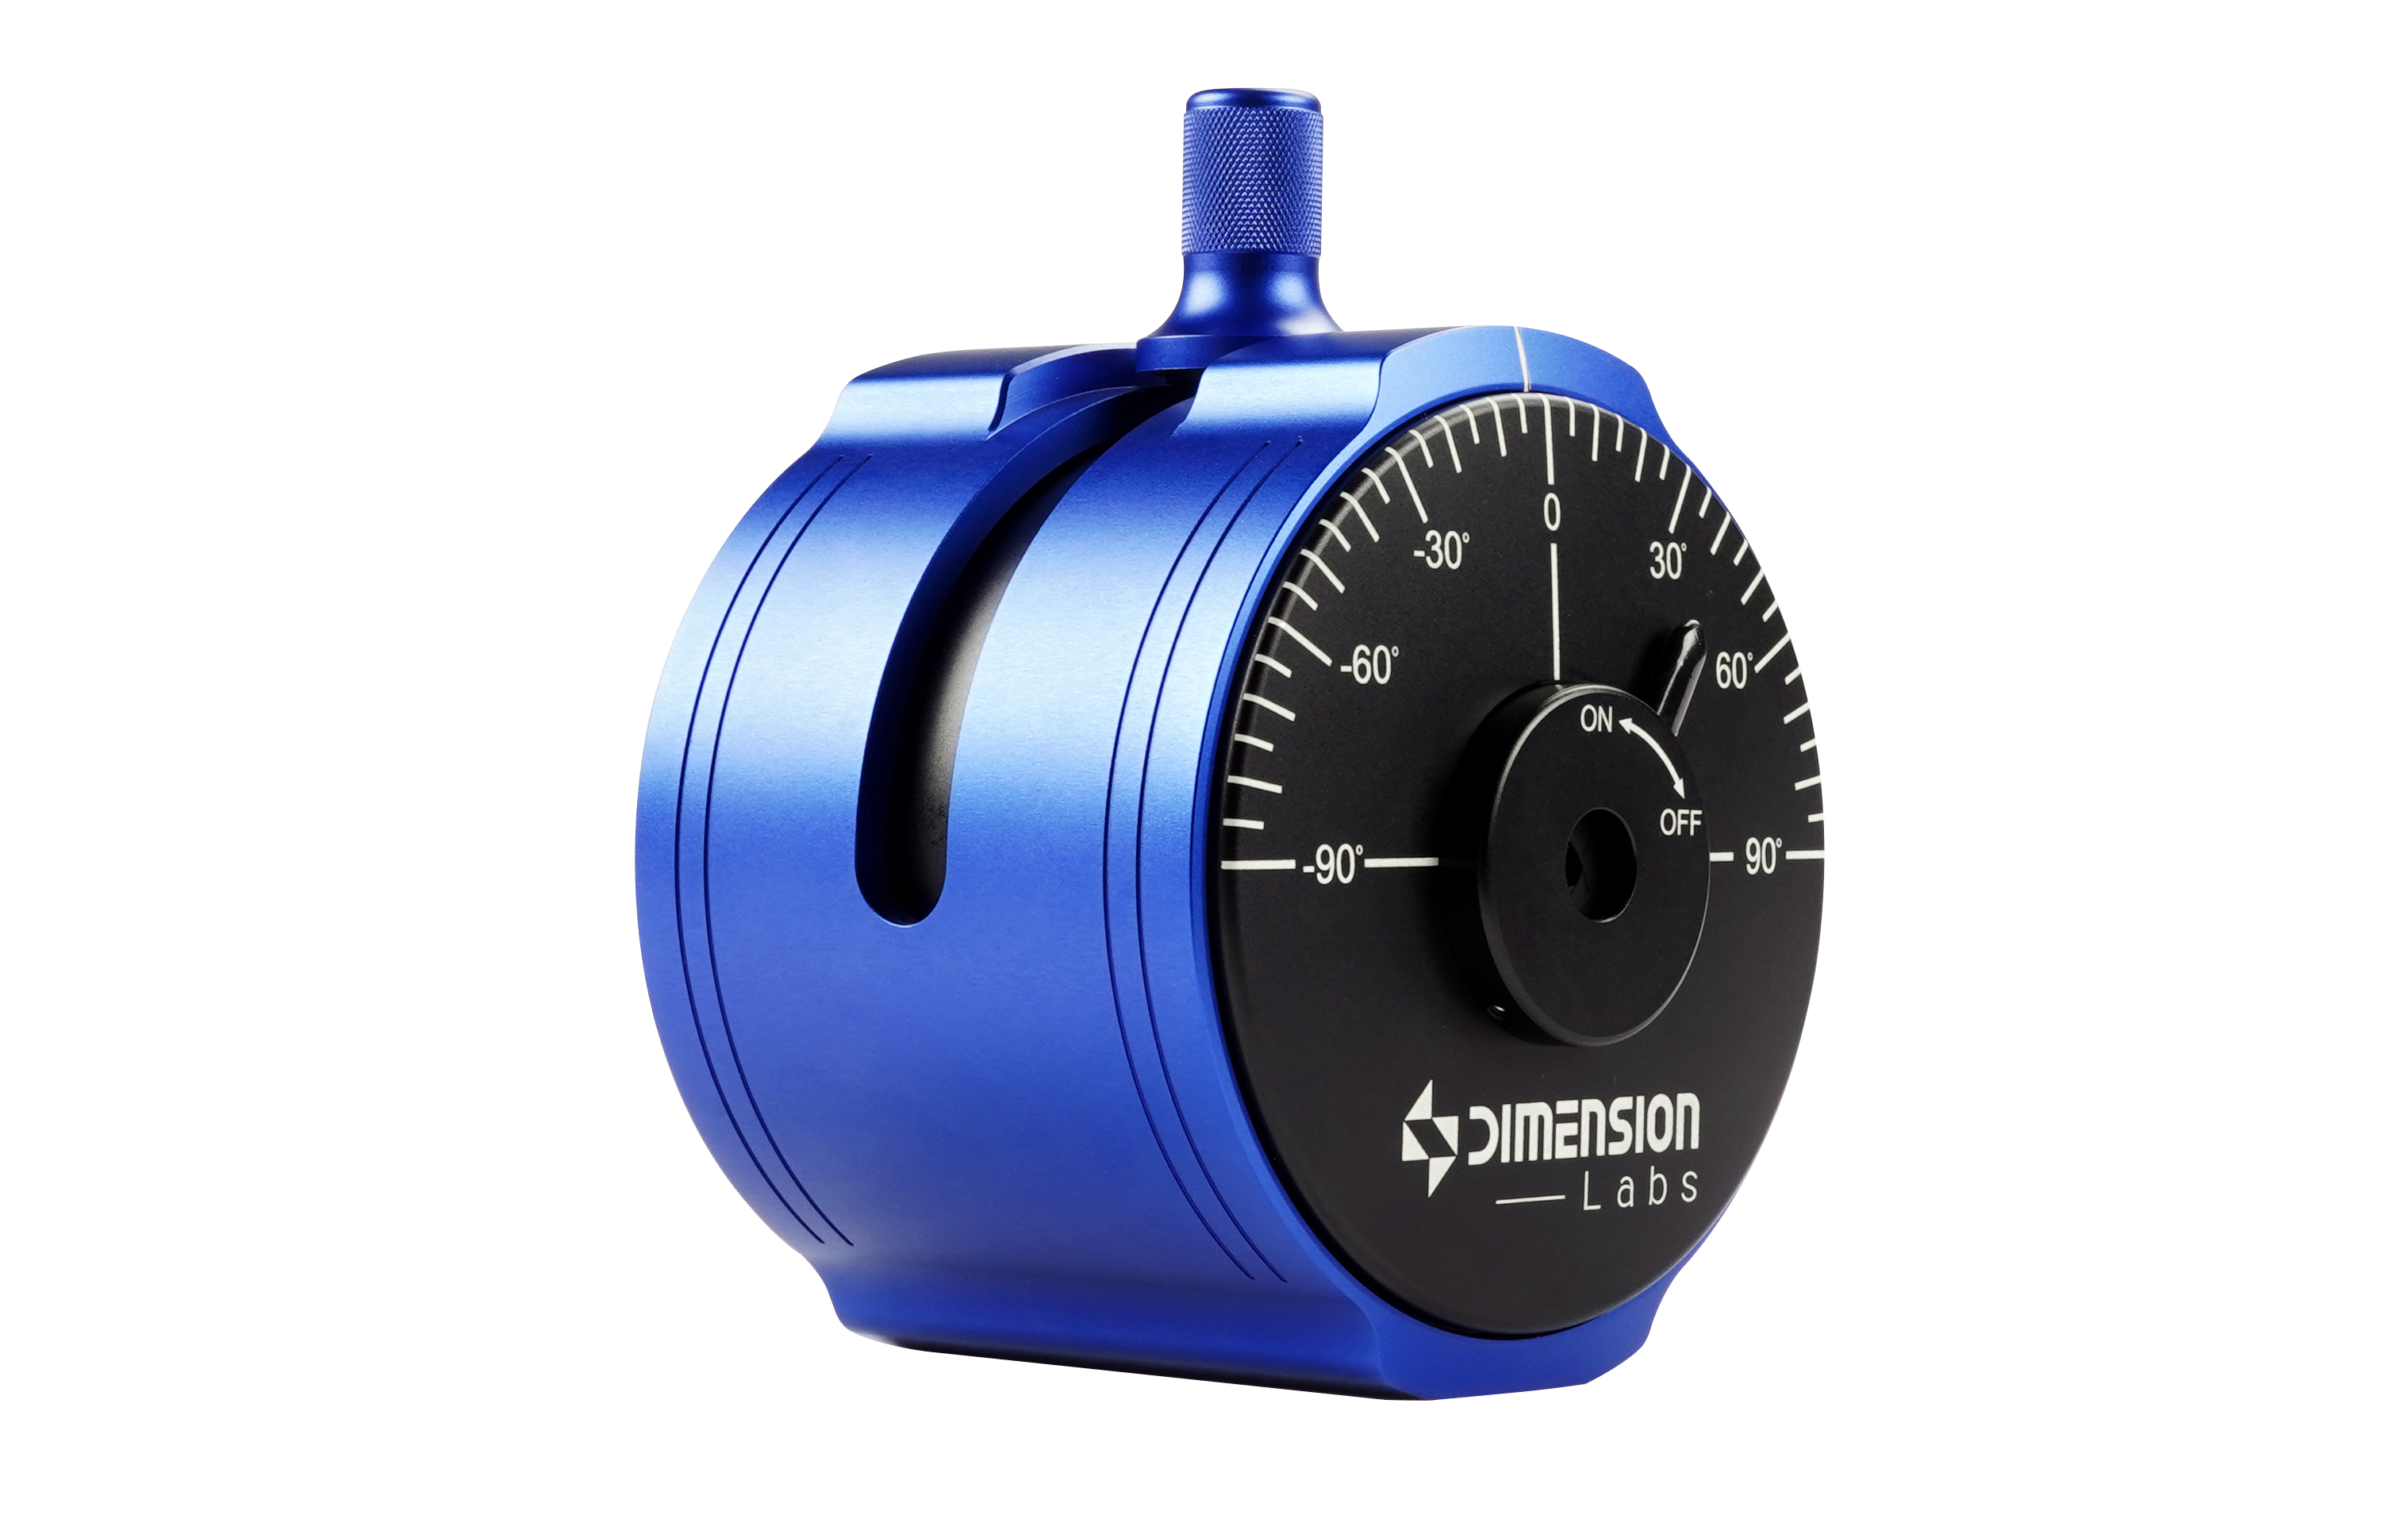
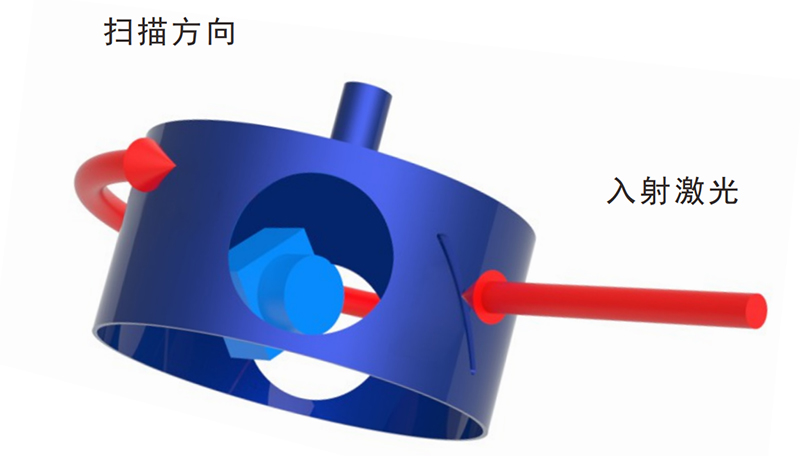
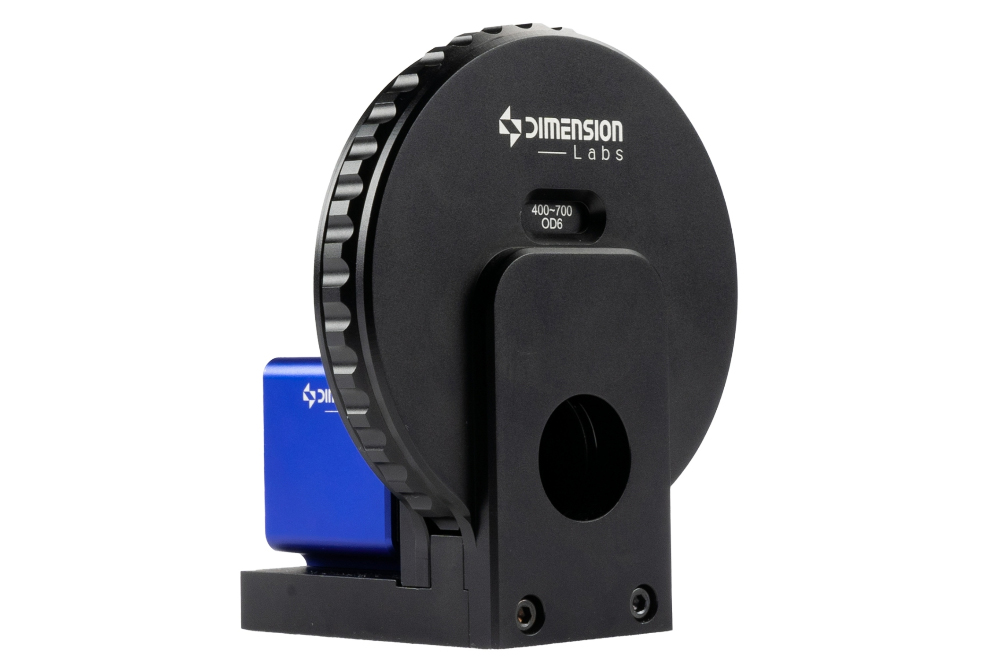
The newly launched scanning slot spot analyzer by Dimension Labs has a rotating cylinder with a ± 90 ° adjustment range in the vertical laser incidence direction, so that the XY axis is marketed on the front responses to the long and short axes of a spot, outputting more accurate spot simulation and measurement
At the same time, an adjustable aperture is used structurally to cover the aperture, with a zero adjustable range of light transmission, effectively isolating the interface of ambient light and straight light, while protecting the aperture and frame slides from human touch and damage The adjustment method is also invasive and conservative
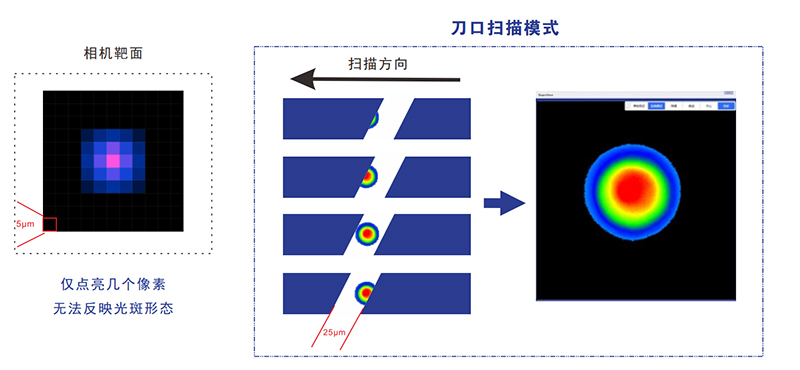
Featuring dual modes of knowledge edge and slide scanning
Different models of scanning slit spot analysts have two modes: knowing edge and slit scanning, which can be automatically switched by software to meet the testing needs of different beam sizes

µ m level small beam measurement
Scanning slit spot analyzer for measuring diameters less than 2; 0 U The extreme small light spot of m has advantages that cannot be compared to other types of analysts Testing with the knowledge edge method can reflect the shape of the small light spot

0.1 µ m ultra high resolution
The scanning slide spot analyzer, based on a unique measurement principle, achieves a resolution of 0 for the spot&Nbsp; 1 µ m can more clearly and accurately reflect the morphology of the light spot without losing important features
Measurable high power beam
The scanning slit spot analyzer only allows light at the slit to pass through and collect power values at each time, and does not receive all the light power at once This allows the scanning slide spot analyzer to test next 100000 of high power laser
Innovative, precise, and compact structural design
The newly launched scanning slot spot analyzer by Dimension Labs has a rotating cylinder with a ± 90 ° adjustment range in the vertical laser incidence direction, so that the XY axis is marketed on the front responses to the long and short axes of a spot, outputting more accurate spot simulation and measurement
At the same time, an adjustable aperture is used structurally to cover the aperture of the light passing through, with a zero adjustable range of light passing through, effectively isolating the interface of environmental light and straight light, while protecting the aperture of the light passing through and frame slides, avoiding human touch and damage The adjustment method is also invasive and conservative.

Technical Introduction
The slit scanner includes a rotating wheel with two pairs of slits of different widths that are perpendicular to each other. There is a rotating motor installed in the rotating wheel, which can control the rotation of the rotating wheel and change the rotation rate. Laser is emitted from the entrance of the slit scanner, and while the rotating wheel rotates, it scans the x and y axes of the laser vertically through the slit. While scanning, the photodetector inside the rotating wheel records power and position information to obtain different time moments; X-axis and The power magnitude at different positions and times on the y-axis. Process the data to obtain parameters of beam quality such as beam diameter, ellipticity, and center position
In the rotating roller orthogonal slit measurement scheme, the slit is used for physical attenuation, which can attenuate the measured light intensity without distortion to the linear response range of the detector. This measurement method can be used for high-power range laser beam quality measurement

M ² Factor testing module
Module Description
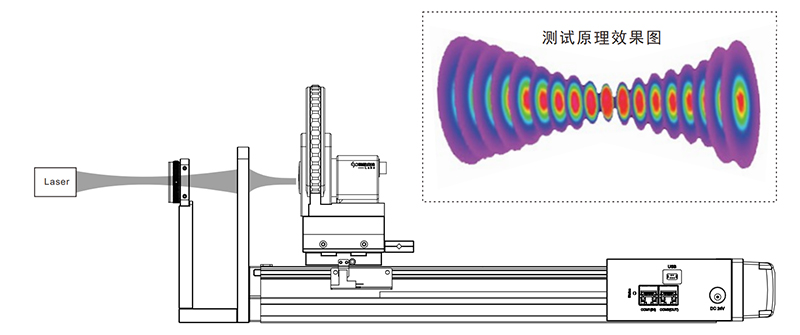
Dimension Labs has launched an M2 testing module for camera based spot analyzers and scanning slit spot analyzers. It is designed for detecting the propagation quality of lasers and can measure beam quality characteristic parameters such as M2, divergence angle, waist position, waist diameter, etc

Main advantages
Automatic measurement of slide rails
Software automatic analysis
Compact in size
Universal mounting hole, easy to disassemble and assemble

Technical Introduction
The scheme of using a fixed lens and a moving probe, while ensuring lens aberration, usually collects multiple images during measurement; Z Calculate the beam width at the axis position; M2; Factor and other beam parameters;. In order to comply with the ISO11146 standard and improve measurement accuracy, data collected in the direction of light propagation is greater than; 10 The bundle width at positions must have at least 5 The length of the waist is located at a point within one Rayleigh distance range
Analysis software
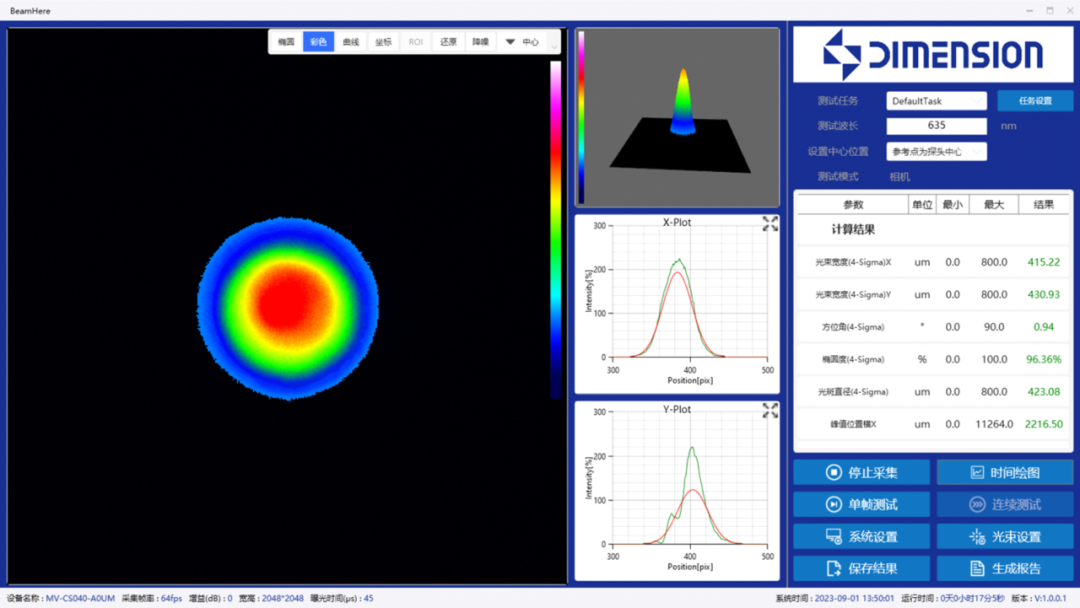
The BeamHere spot analyzer software developed by Dimension Optoelectronics is guided by clear and concise logic design, easy operation, and user-friendly visual presentation. It considers different usage scenarios and creates practical and efficient operation software for users

Performance parameter
| Product modelDL-BH-190-1100-A DL-BH-500-1700-A DL-BH-900-2700-A |
| Applicable wavelength | 190-1100nm | 500-1700nm | 900-2700nm |
| Maximum power allowed | 10W |
| Detection materials | Si | InGaAs | InGaAs |
| Measuring beam diameter | Two point five μ M~10mm |
| Scanning rate | 2-20Hz (continuously adjustable) |
| Spot resolution | Zero point one μ M |
| Display | Black and white/false color |
| Passing aperture size | 10mm | 10mm | 10mm |
| Working temperature | 5 ° C to 35 ° C |
| Storage temperature | -40 ° C to 70 ° C |
| Authentication | CE, RoHS, KC |


 AutoGet MT Fiber Endface Inspector EasyGet WiFi Wireless Fiber Endface Microscope AutoGet Wifi Intelligent Fiber Endface Microscope EasyCleaner Optical fiber connector cleaner EASYSTICK Fiber Cleaning Cotton Stick OPTIPOP Optical Connector Cleaner NEOCLEAN™ SERIES Optical Connector Cleaner Lineup New Fiber Elbow Adapter